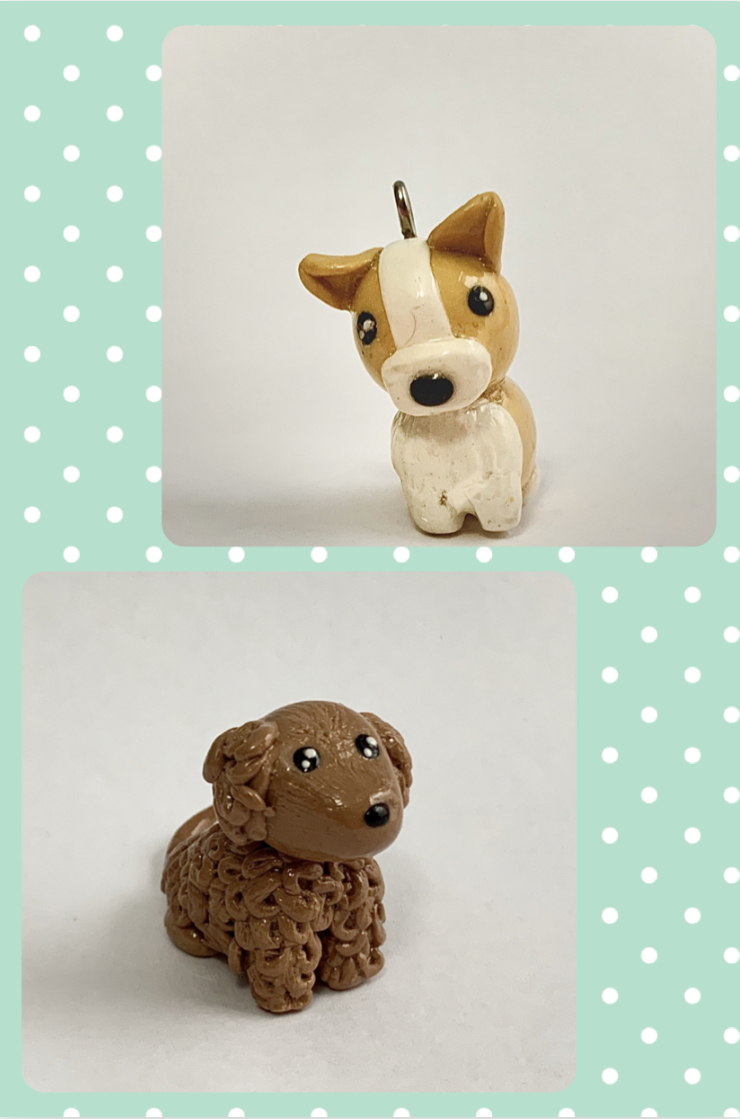
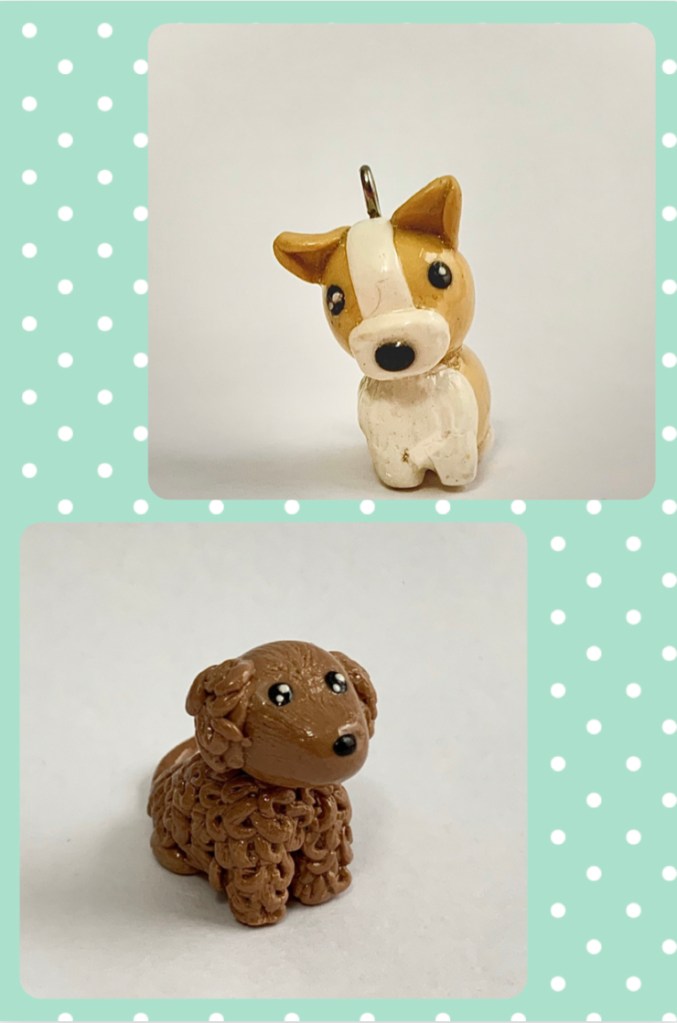
Hello viewers! May the 4th be with you! 😄 As you can see here, I have made polymer clay puppies! The one on top is actually one of my older creations, as opposed to the one on the bottom, which was made more recently. I used techniques and ideas from a picture on Pinterest and a YouTube video. Here are the links:
As you may have noticed, neither of my creations are an exact duplicate of the pieces above. From the Pinterest image, I replicated the fur feature for my polymer clay cockapoo. I curled small, flat pieces of clay, gave them a fur-like texture with a blade, and stuck them on. This requires a lot of time and patience, and a fine-tip blending tool as well. If you would like to see images of what to use for this step, see my post, A Perfect Pair, for a picture of my blending tools. Something I did that set my polymer clay puppy apart from the one above was the size, shape, and proportions. I made a slightly larger head and body than the image shows, and the shape of the body in the sitting position contrasts the piece on Pinterest. The sitting position, though, is the same for both the cockapoo and the corgi that I have shown you. For this, I shaped the body into almost a triangle, but instead, it was slightly bent. And now, that brings our focus to the corgi. First things first, I will acknowledge that the artist in the video DID use air-dry clay. However, this does not mean that you can’t make a replica using polymer clay. Using similar colors, I followed most of the guidelines the video provided. I made a few minor changes, like the eyes and ears, but other than that, my polymer clay corgi and the YouTuber’s clay corgi look pretty much the same. Well, thank you for reading this post! If you would like to see more content more often, please subscribe to my blog! Bye!

Love both the puppies!!
LikeLike